Product Description
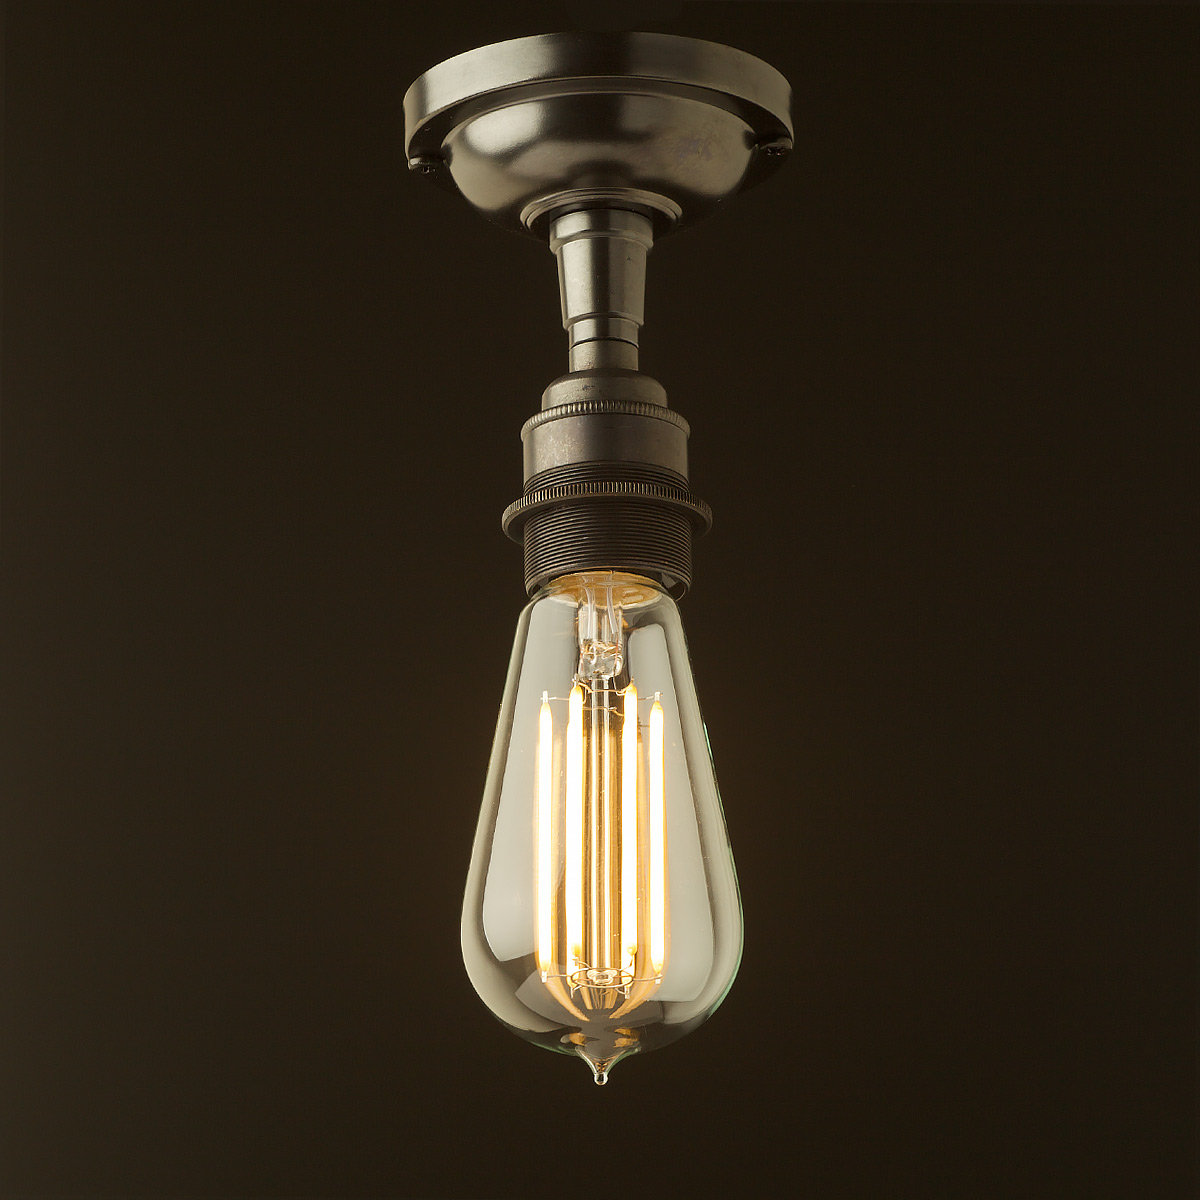
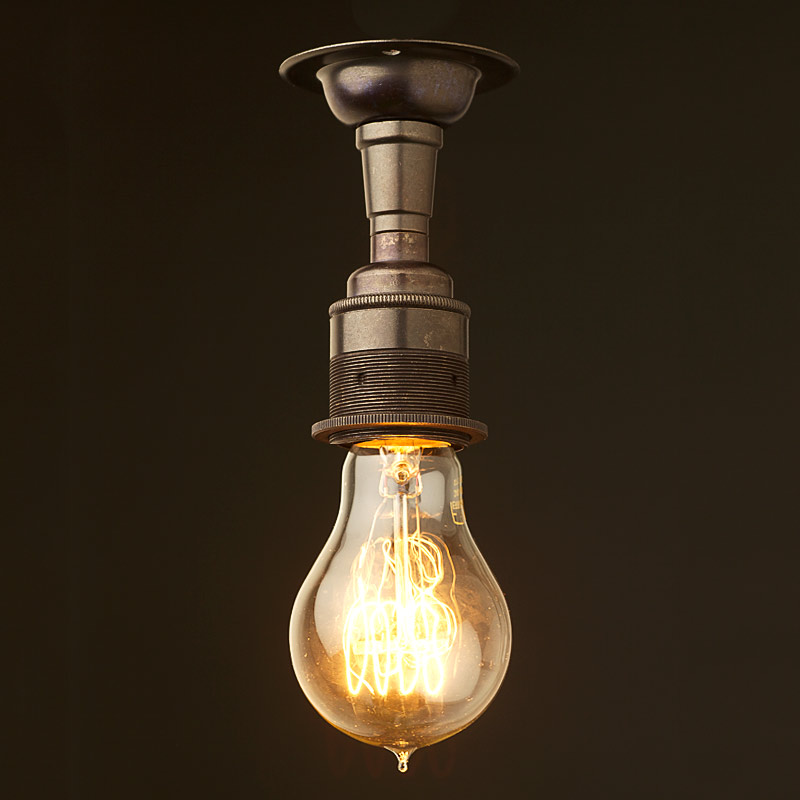
Bronze Batten Holder Edison E27 fitting, finished in Antique bronze. Internally this Bronze Batten Holder Edison E27 fitting features a quality ceramic insert and brass screw terminals. This precision made solid brass E27 lamp holder features a high quality ceramic insert with brass screw terminals. Comes complete assembled and wired.
Gallery and shade
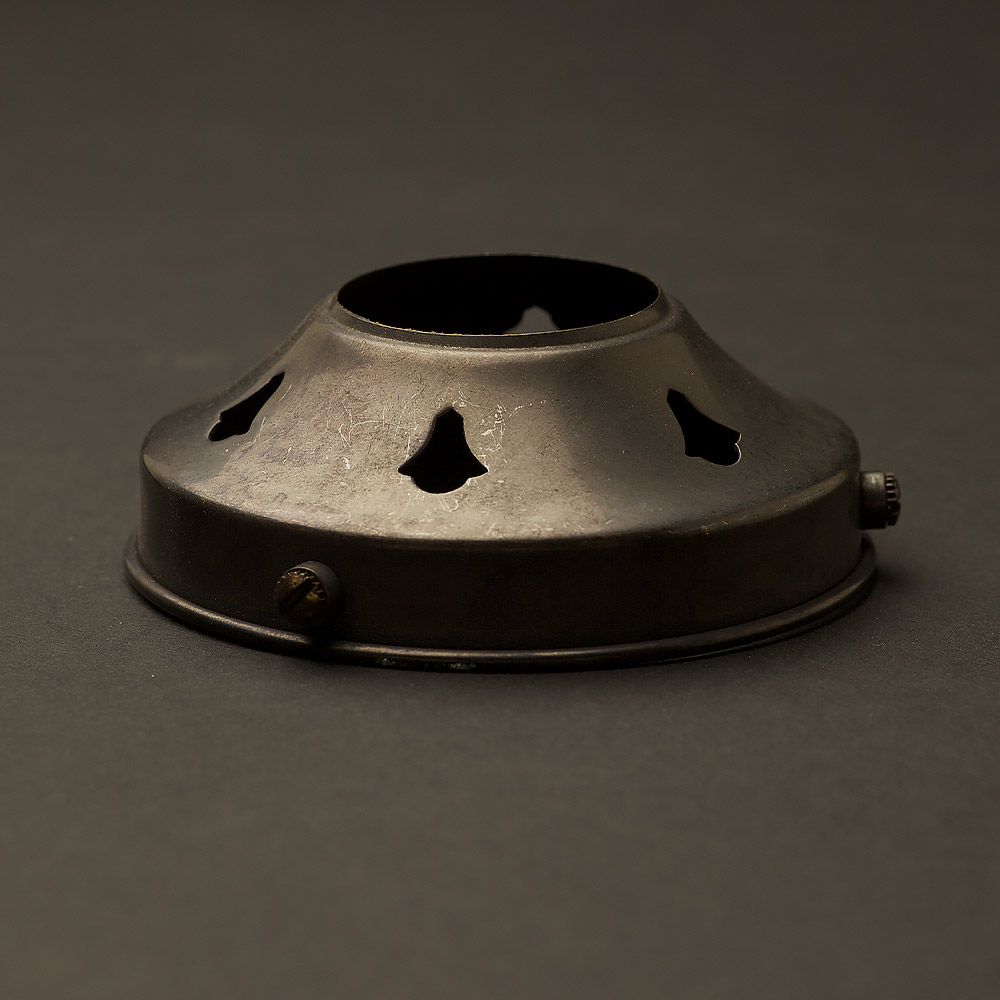
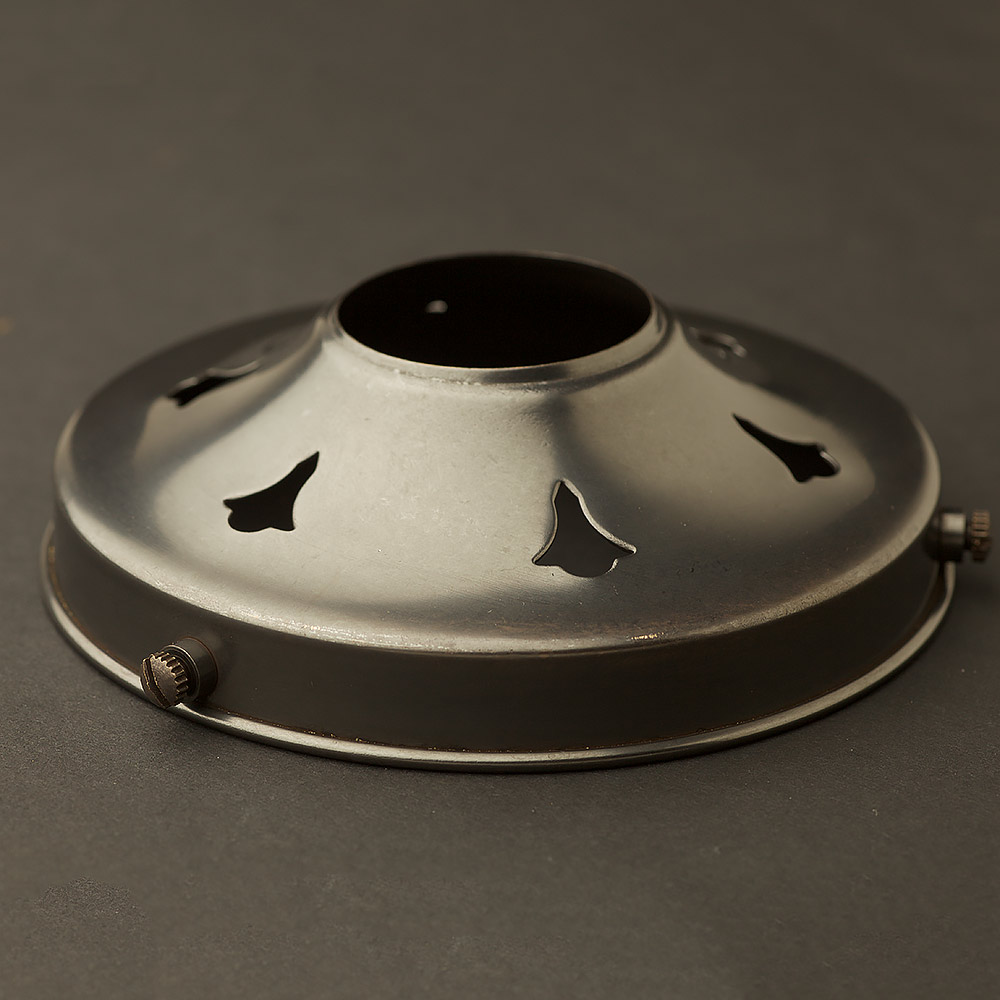
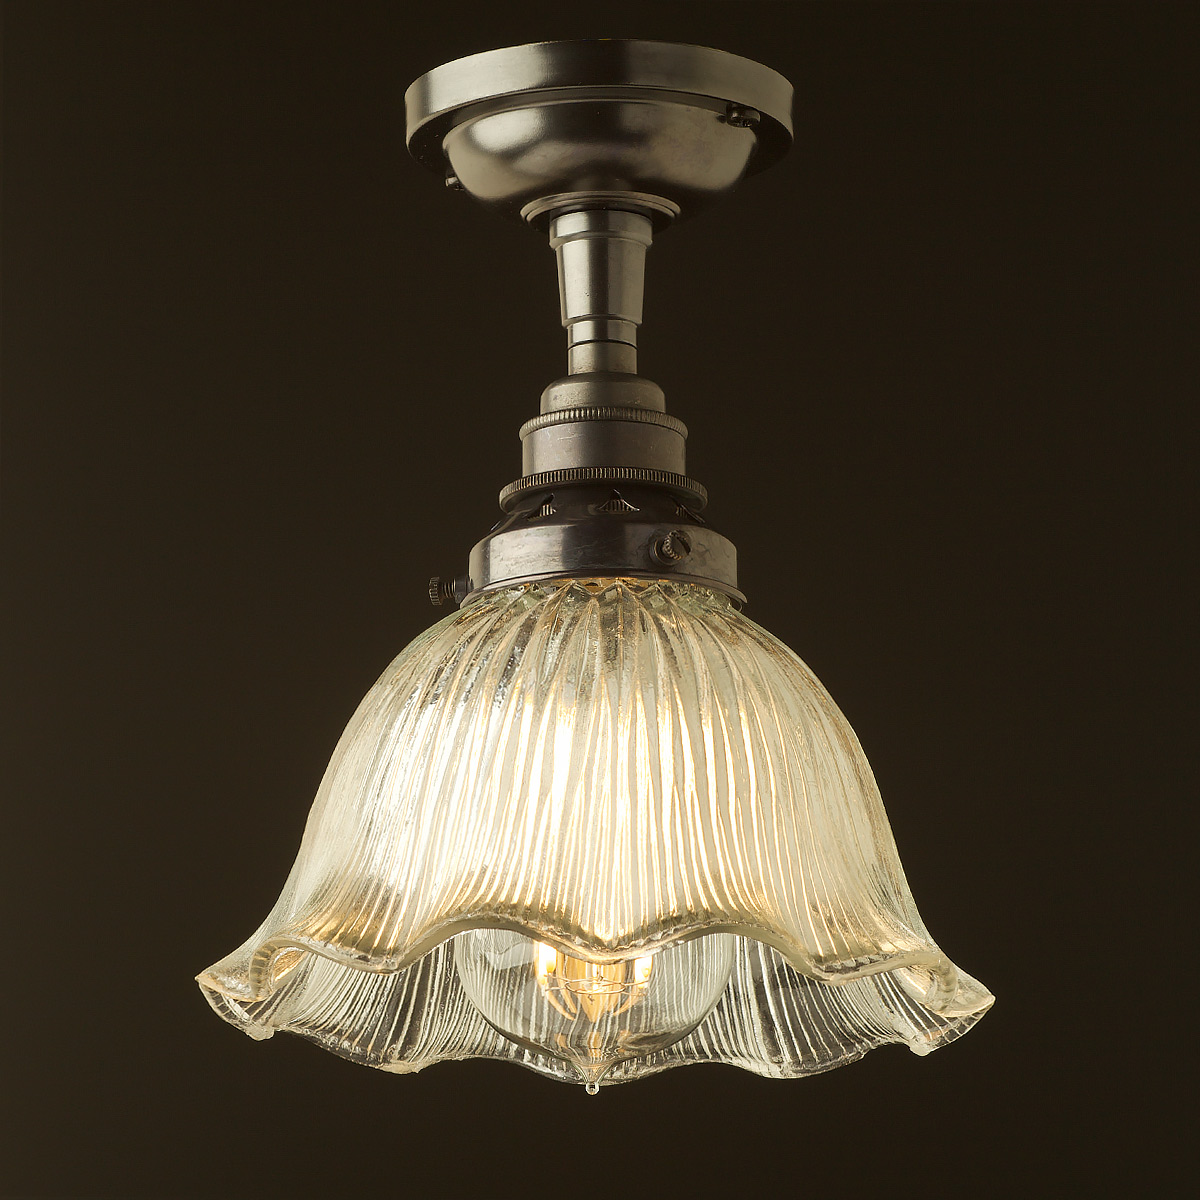
Shade nuts are employed to hold a gallery or in some instances, a shade directly to the lamp holder. Where shade nuts are required to connect a galley or light shade, select two from the dropdown available. Our smooth variations of the brass E27 lamp holders do not have this feature. Add a matching brass gallery to enable attachment of a glass or metal light shade.
Ceiling Rose
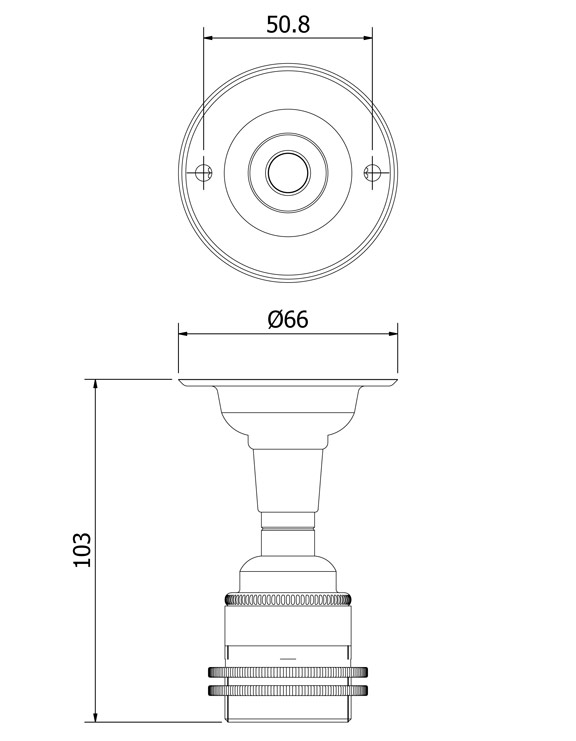
Ceiling rose option provides for direct connection to conduit junction boxes as 66mm. For use with glass shades or larger metal shades we recommend the larger ceiling plate at 90mm which provides a more secure attachment to plaster ceilings. Also available as 114mm ceiling rose where a down light cavity is required to be covered up.
This lamp holder must be earthed and uses an anti rotation mechanism to ensure that the body can not be open when changing the bulb. Before applying power after wiring and reassembly, test the anti-rotation feature. If it fails to lock, remove the lamp holder body and bulb receptacle and gently open the anti-rotation mechanism over to a more aggressive position.
Our brass lamp holders are compliant to AS/NZ standards and hold a Certificate of Approval (RCM) and CE for European markets.
This fitting can be made as 120V E26 also. This will not be UL Listed but will be made from UL Listed components.
Disassembly instructions
Locate the active terminal and its anti-rotation mechanism. Using a suitable screwdriver, gently open the anti-rotation mechanism towards the centre of the lamp holder so as to clear it from the locking teeth on the bulb receptacle. This will now allow the lamp holder body to be unscrewed from the lamp holder top. Once disassembled, gently prise the anti-rotation tab back into position using a pair of small pliers so that it engages with the locking teeth on the bulb receptacle. We have also provided a downloadable visual guide to disassembly in the documents tab below.






 Subscribe to our channel
Reviews
There are no reviews yet